
If you live and work in the UAE but earn income from India, a UAE Tax Residency Certificate (TRC) could make a significant difference to your tax liability. Without it, claiming benefits under the India-UAE Double Taxation Avoidance Agreement (DTAA) can become difficult, even if you’re otherwise eligible.
Whether you’re earning salary, selling property, receiving dividends, or remitting income, understanding the role of a TRC is an essential part of smart NRI tax planning. If you’re unsure whether you need one or how to obtain it, our NRI tax experts can help you with your TRC application, DTAA documentation, and Indian tax compliance from start to finish.

TL;DR
- A UAE TRC is an official document issued by the UAE Federal Tax Authority (FTA) that certifies your UAE tax residency.
- It is commonly used to claim tax treaty benefits under the India-UAE DTAA.
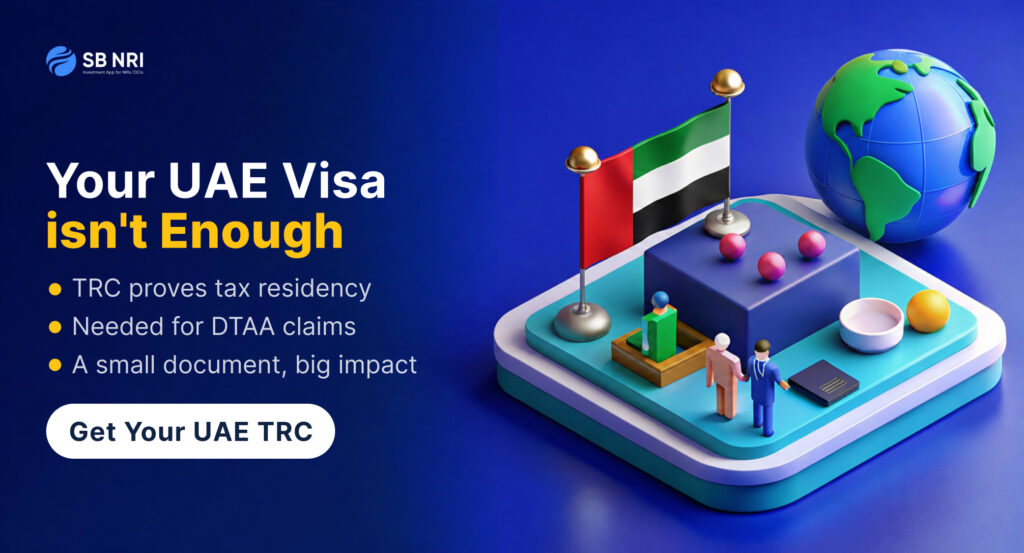
- A UAE residence visa alone is not the same as a TRC.
- A TRC may help you avoid double taxation, but it does not automatically exempt you from Indian taxes.
- Depending on your case, you may also need Form 10F and other supporting documents when claiming DTAA benefits in India.
What Is a UAE TRC?
A Tax Residency Certificate (TRC) is an official certificate issued by the UAE Federal Tax Authority (FTA) confirming that an individual or company is considered a tax resident of the UAE for a specified period. Its primary purpose is to enable eligible applicants to claim benefits under Double Taxation Avoidance Agreements (DTAAs) signed by the UAE with other countries.
In simple terms, the TRC acts as proof of your UAE tax residency when dealing with foreign tax authorities, including the Indian Income Tax Department.
Why Does a UAE NRI Need a TRC?
Many NRIs assume that simply living in Dubai or holding a UAE residence visa is enough to claim tax treaty benefits in India.
Unfortunately, that’s not how it works.
When you wish to claim relief under the India–UAE DTAA, the Indian tax authorities may require documentary evidence that you are indeed a tax resident of the UAE.
That’s where a UAE TRC becomes important.
Without it, claiming treaty benefits may become significantly more difficult.
The Difference Between a UAE Visa and a TRC
One of the biggest misconceptions among NRIs is that these documents are interchangeable.
They’re not.
| UAE Residence Visa | UAE Tax Residency Certificate |
| Allows you to legally reside in the UAE | Certifies your UAE tax residency |
| Issued by immigration authorities | Issued by the UAE Federal Tax Authority |
| Required for living and working | Required for claiming DTAA benefits in many situations |
| Does not automatically prove treaty residency | Serves as official tax residency evidence |
A residence visa may help establish your presence in the UAE, but it is not a substitute for a Tax Residency Certificate.
Also read: Tax Residency Certificate (TRC) for NRIs: Essential for DTAA Claims While Filing Your Indian Taxes
How the India–UAE DTAA Works
India and the UAE have signed a Double Taxation Avoidance Agreement (DTAA) to help ensure that the same income isn’t taxed twice in both countries. The agreement also allocates taxing rights between the two countries for different categories of income.
This doesn’t mean that every UAE resident automatically pays zero tax in India.
Instead, the DTAA may provide:
- Relief from double taxation
- Reduced tax rates for certain types of income
- Clarity on which country has the primary right to tax specific income
The exact benefit depends on the nature of your income and the applicable treaty provisions.

When Might an NRI Need a UAE TRC?
A TRC is commonly required when claiming treaty benefits relating to Indian-source income.
Some examples include:
1. Selling Property in India
If you’re selling property in India and wish to claim treaty relief where applicable, supporting residency documentation becomes important during tax planning.
2. Dividend or Interest Income
Certain treaty provisions may provide tax relief or reduced withholding, subject to satisfying the applicable conditions.
3. Professional or Consultancy Income
Cross-border service income often requires careful evaluation under the DTAA.
4. Other Indian Investments
Income from certain investments may also require treaty documentation depending on the circumstances.
The exact applicability depends on the type of income, your residential status, and treaty provisions.
Example: Why a TRC Matters
Consider Rahul, an Indian citizen working in Dubai.
He earns a salary in the UAE and also owns a rental property in Bengaluru.
While filing taxes in India, Rahul wants to claim benefits available under the India–UAE DTAA wherever applicable.
If he simply states that he lives in Dubai without providing documentary evidence of UAE tax residency, his treaty claim may not be adequately supported.
However, if Rahul holds a valid UAE TRC (along with any other documents required under Indian tax law), he is in a much stronger position to substantiate his treaty claim.
The TRC doesn’t eliminate tax by itself—it supports your eligibility to claim benefits under the treaty.
Does Every UAE NRI Need a TRC?
No.
This is an important distinction.
A TRC is not mandatory simply because you are an NRI living in the UAE.
It becomes relevant when you intend to claim benefits under the India–UAE DTAA or when proof of UAE tax residency is required.
If your Indian tax filing does not involve any treaty claim, a TRC may not be necessary.
This is why professional advice is important before beginning the application process.

Can a TRC Automatically Make Your Indian Income Tax-Free?
No.
This is perhaps the biggest myth surrounding UAE taxation.
A TRC does not automatically exempt all Indian income from tax.
Instead, it serves as evidence of your tax residency in the UAE. Whether you actually receive treaty benefits depends on:
- The type of income
- Relevant DTAA provisions
- Indian tax laws
- Supporting documentation
- Your individual facts and circumstances
In other words:
TRC is an important part of the process—not the entire process.
Who Issues the UAE TRC?
The certificate is issued exclusively by the UAE Federal Tax Authority (FTA) through its online portal.
Applications are submitted through the EmaraTax platform, where applicants can choose whether they require the certificate for DTAA purposes or for other tax residency purposes.
Why Apply Early?
Many NRIs begin looking for a TRC only after they start preparing their Indian tax return or receive a tax notice.
By then, they may be rushing to gather documents, understand DTAA provisions, and meet filing deadlines.
Applying in advance gives you more time to:
- Complete the application correctly
- Gather supporting documentation
- Resolve queries from the authorities
- Plan your Indian tax filing with confidence
It also helps avoid last-minute delays when claiming treaty benefits.
How to Apply for a UAE TRC
The UAE Tax Residency Certificate is issued through the EmaraTax platform by the UAE Federal Tax Authority (FTA).
While the exact requirements may vary depending on whether you’re applying as an individual or a legal entity, the overall process typically follows these steps:
Step 1: Confirm Your Eligibility
Before applying, ensure you meet the residency requirements prescribed by the UAE Federal Tax Authority.
Eligibility depends on various factors, including your residency status and the applicable regulations in force at the time of application.
Step 2: Gather the Required Documents
While the FTA may request additional documents depending on your case, individuals are commonly required to submit documents such as:
- Passport copy
- UAE Residence Visa
- Emirates ID
- Proof of UAE residential address
- Bank statements
- Source of income or employment documents
- Immigration report or proof of physical presence (where applicable)
Always refer to the latest document checklist issued by the FTA before applying.
Step 3: Submit the Application Online
Applications are filed through the EmaraTax portal.
You’ll be required to:
- Complete the application
- Upload supporting documents
- Pay the applicable government fee
- Submit the request for review
Step 4: Await Processing
Once submitted, the FTA reviews the application and may request additional information if required.
After approval, the Tax Residency Certificate is issued electronically.
Documents You May Also Need in India
Many NRIs believe obtaining a TRC is the final step.
It usually isn’t.
When claiming benefits under the Income-tax Act, Indian tax authorities may also require additional documentation.
This may include:
- Form 10F
- Self-declaration regarding treaty eligibility
- PAN
- Supporting documents relating to the nature of income
The exact requirements depend on the relevant DTAA provisions and the type of income involved.
Common TRC Mistakes NRIs Make
Obtaining a TRC is only half the battle.
These are some of the most common mistakes we see:
1. Assuming a UAE Visa Is Enough
A residence visa proves immigration status.
It does not automatically establish tax residency for treaty purposes.
2. Applying Too Late
Many taxpayers start the process only after filing season begins.
By then, gathering documents and obtaining approvals can create unnecessary stress.
3. Claiming DTAA Benefits Without Supporting Documents
A TRC is often one of the documents supporting a treaty claim.
Missing documentation can delay assessments or lead to additional queries.

4. Ignoring Form 10F Requirements
Many taxpayers focus only on the TRC and overlook other documents that may be required under Indian tax rules.
5. Assuming All Income Becomes Tax-Free
The DTAA doesn’t automatically exempt every type of income.
Different income streams—such as salary, rental income, capital gains, dividends, and interest—may be governed by different treaty provisions.
Professional advice becomes particularly valuable when multiple income sources are involved.
Practical Tips Before Filing Your Indian Tax Return
Before claiming DTAA benefits:
✔ Check whether a TRC is actually required for your situation.
✔ Ensure your TRC relates to the correct financial period.
✔ Review whether Form 10F is also applicable.
✔ Keep copies of all supporting documents.
✔ Understand which country has taxing rights over your income.
Proper planning before filing can help avoid notices, delays, and unnecessary disputes.
How We Can Help
Navigating DTAA provisions can be confusing, especially when you’re managing tax obligations across two countries.
Our NRI tax experts can help you with:
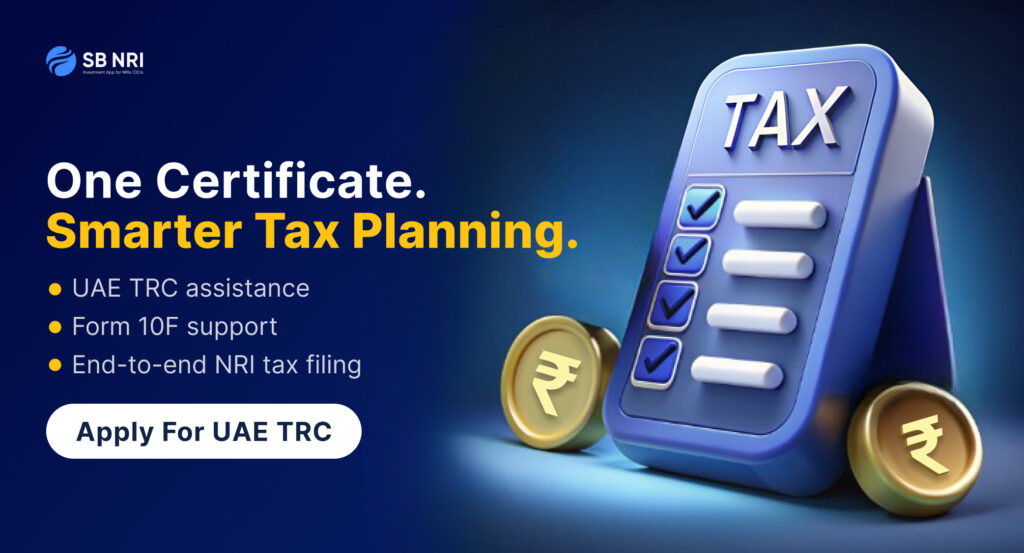
- UAE TRC assistance
- DTAA eligibility review
- Form 10F guidance
- Indian income tax filing
- Property sale taxation
- Lower TDS Certificate applications
- End-to-end NRI tax planning
Whether you’re filing your first Indian tax return from the UAE or claiming treaty benefits for the first time, we’re here to simplify the process.

Final Thoughts
For UAE-based NRIs, a Tax Residency Certificate (TRC) is much more than an administrative document.
It can play a crucial role when claiming benefits under the India–UAE DTAA and demonstrating your UAE tax residency before Indian tax authorities.
However, it’s equally important to remember what a TRC doesn’t do.
It doesn’t automatically eliminate Indian taxes, replace Form 10F, or guarantee treaty benefits.
Instead, it’s one important piece of your overall tax compliance strategy.
If you’re planning to file taxes in India while residing in the UAE, reviewing your DTAA eligibility well before the filing deadline can save both time and unnecessary tax complications.
Frequently Asked Questions
Is a UAE residence visa the same as a TRC?
No. A residence visa allows you to legally reside in the UAE, while a TRC certifies your tax residency for treaty purposes.
Is a TRC mandatory for every UAE NRI?
No. It is generally relevant when you’re claiming benefits under the India–UAE DTAA or when proof of UAE tax residency is required.
Who issues the UAE TRC?
The certificate is issued by the UAE Federal Tax Authority (FTA) through the EmaraTax platform.
Can a TRC make all my Indian income tax-free?
No. A TRC supports your claim for treaty benefits but does not automatically exempt all Indian income from tax.
Is Form 10F also required?
Depending on your circumstances and treaty claim, yes. Many taxpayers claiming DTAA benefits may also need to furnish Form 10F under Indian tax rules.
Can I apply for a UAE TRC myself?
Yes. Eligible individuals can apply through the EmaraTax portal. However, professional assistance can help ensure the application and supporting documentation are complete.
When should I apply for a TRC?
Ideally before your Indian tax filing or before claiming treaty benefits, allowing sufficient time for processing and documentation.


